Have you thought of curing and preserving Olives?
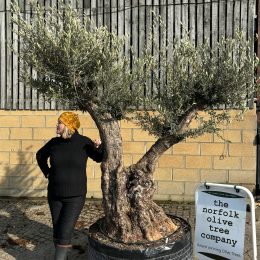
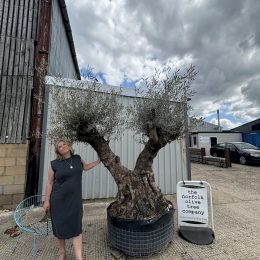
Growing an Olive tree in the U.K climate is pretty straightforward, they are a hardy and robust tree, often referred to as The Tree of Life. Growing an Olive tree means you have year long colour in your garden as they are evergreen. As they are a fruit tree they will also give you fruit. Hoorah!
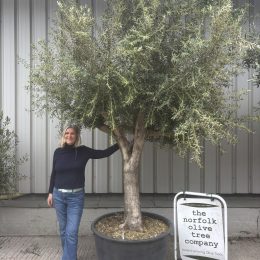
Olive Trees will yield fruit if you prune them correctly and feed them. They love tomato feed. Start feeding them in May and feed regularly till October.
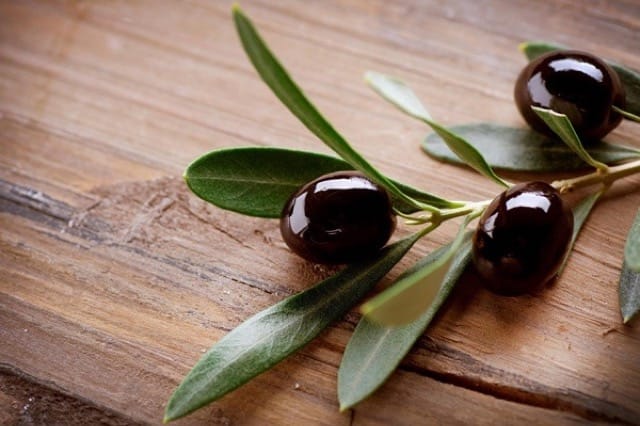
Here’s my recipe for curing and preserving Olives
There are four steps to preparing and curing your Olives.
Step one:
 Slit each Olive down one side from North to South eg. along the length of the Olive. It does not have to go down to the stone/pip
- Put the olives into a bucket or container and cover completely with water
- Change the water once every day.
- After two weeks you can start tasting an Olive. If the bitterness is gone you can proceed to step two.
Step two:
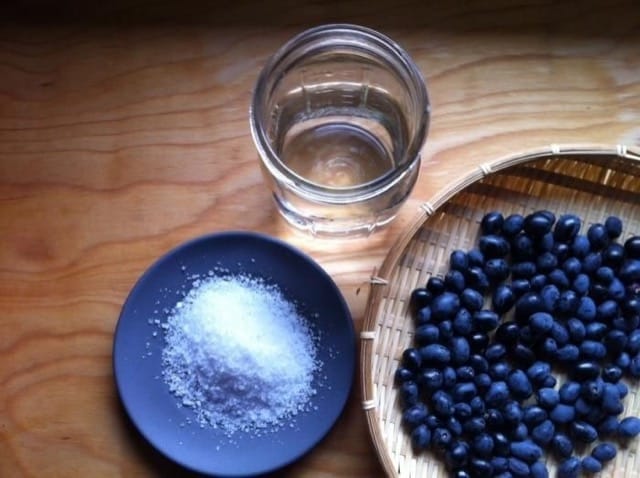
- Rinse the Olives properly and pour off the water leaving the Olives in the bucket.
- Make a salt water solution in a separate bucket using the ratio of 1kg packet of salt to 10 litres of water. You probably won’t need this much so scale down depending on the quantity of olives.
- Pour the salt water into the bucket of Olives until they are completely covered. You may find that the top layer of Olives is floating out of the water.
- If so use a plate or something similar of appropriate size to hold them down.
- After about 1 and a half days take out one Olive and thoroughly rinse it with water and taste. It should be salty already and you can proceed to the next step if the saltiness is o.k for you.
- If it is not salty enough leave it for another half day and test again and so on.
Step three:
- Rinse the Olives properly with clean water. Empty the bucket of the water leaving the Olives in the bucket.
- Fill the bucket with any cheap spirit white vinegar until the Olives are covered.
- After about six hours they should be ready. Take one Olive, rinse and taste and if it is o.k go to the next step. If you find it too acidic go back to step one for a day or so, and this will remove some of the bite. If all is o.k go to step four.
Step four:
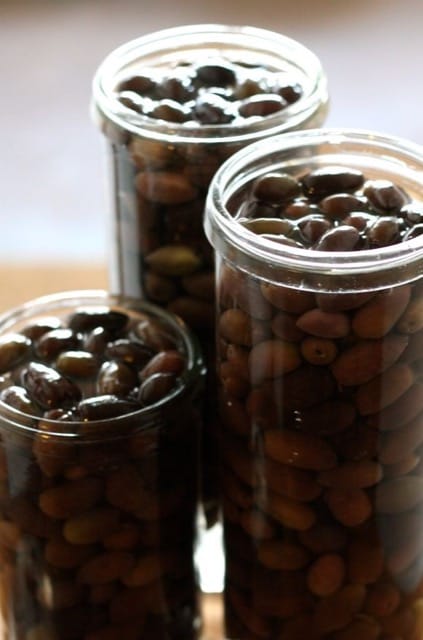
- Take a wide mouthed sterilised glass bottle with screw top. It is important that the bottle is very clean. Put the bottles through a dishwasher first. Nescafé bottles, mayonnaise bottles will do just fine.
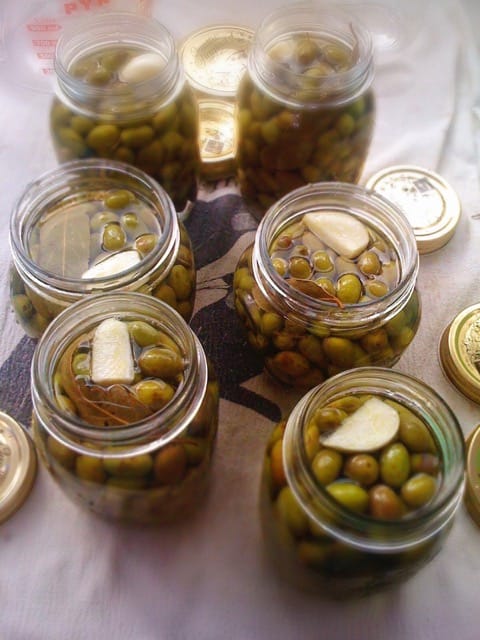
- Fill the bottle with Olives, but leave at least a centimetre gap to the top of the bottle as you are going to eventually cover the olives completely in Sunflower Oil.
- As you fill the bottle with Olives put in some garlic cloves and dry oregano. Try to do it in layers. Now and then you can throw in one little fresh chilli and or some whole pepper corns.
- When your bottle is full pour in sun flower oil until the Olives are completely submerged in oil.
- Cut a piece of grease proof paper about twice the size of the mouth of the bottle and cover the mouth with it and then screw on the lid tightly.
- Your olives should be ready in about two weeks.
Green Olive Recipe
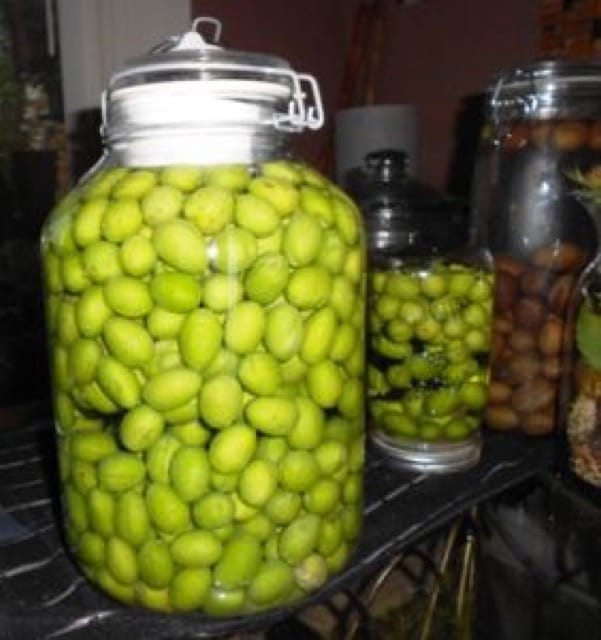 Note that for green olives everything is basically the same. But you cannot slit a green Olive. You will need to hit it with a hammer or mallet so that the skin breaks irregularly. Also step one takes twice as long to get rid of the bitterness.
Enjoy your Norfolk Olives!